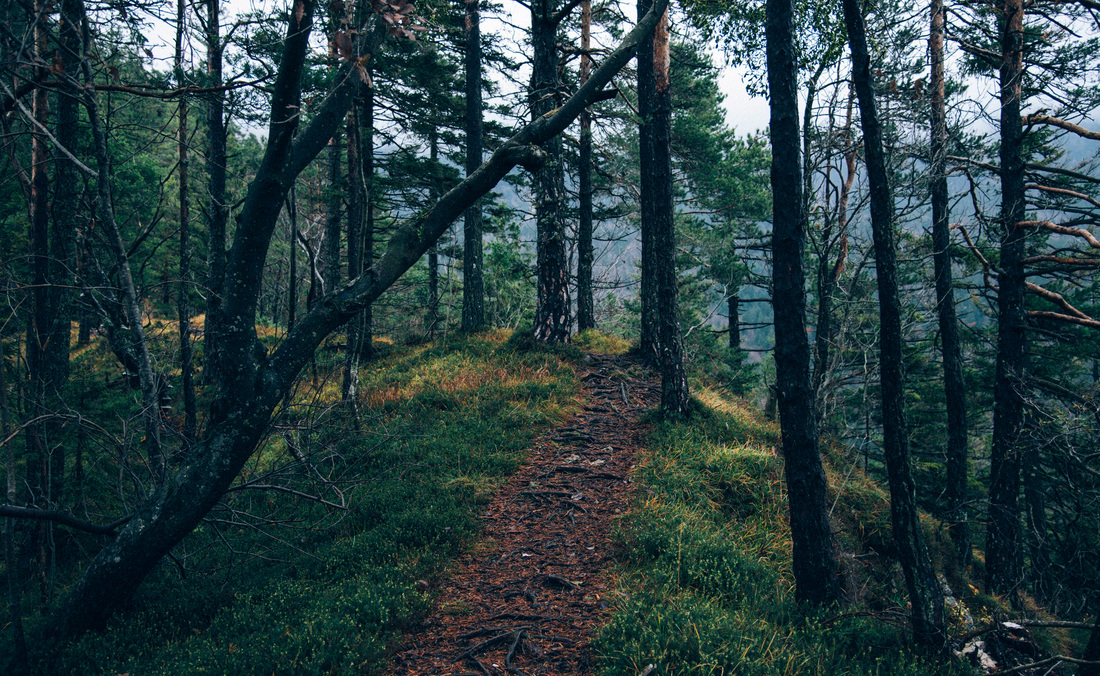
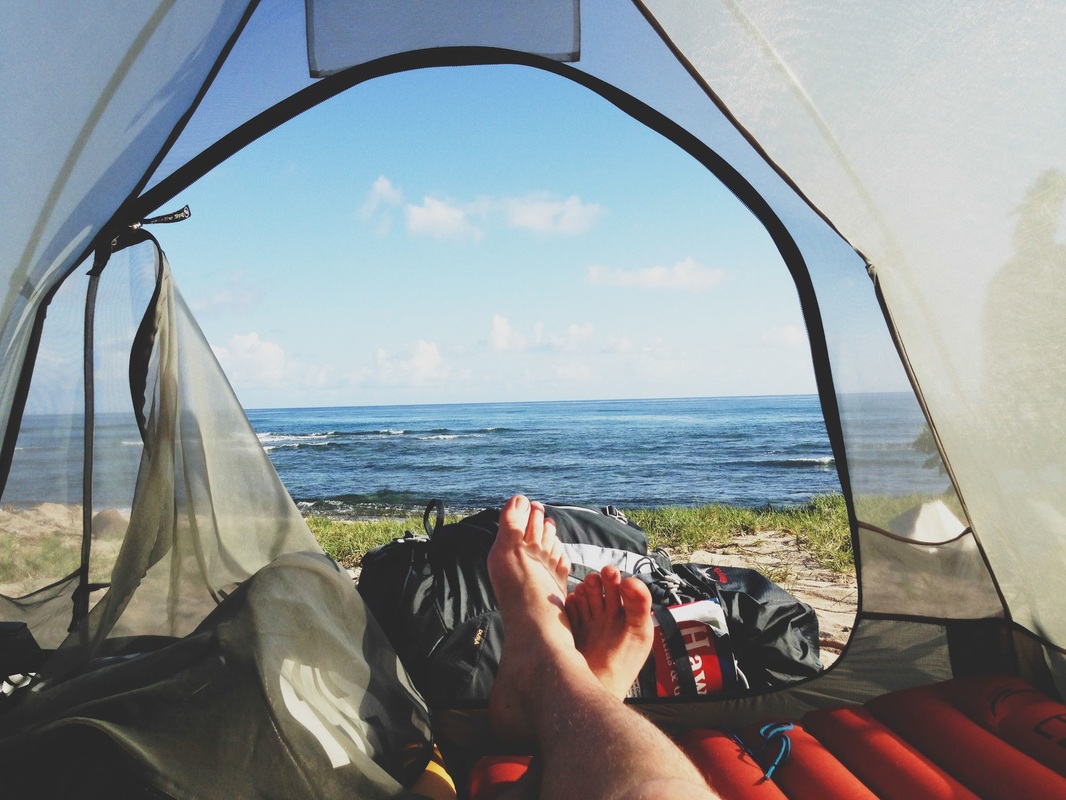
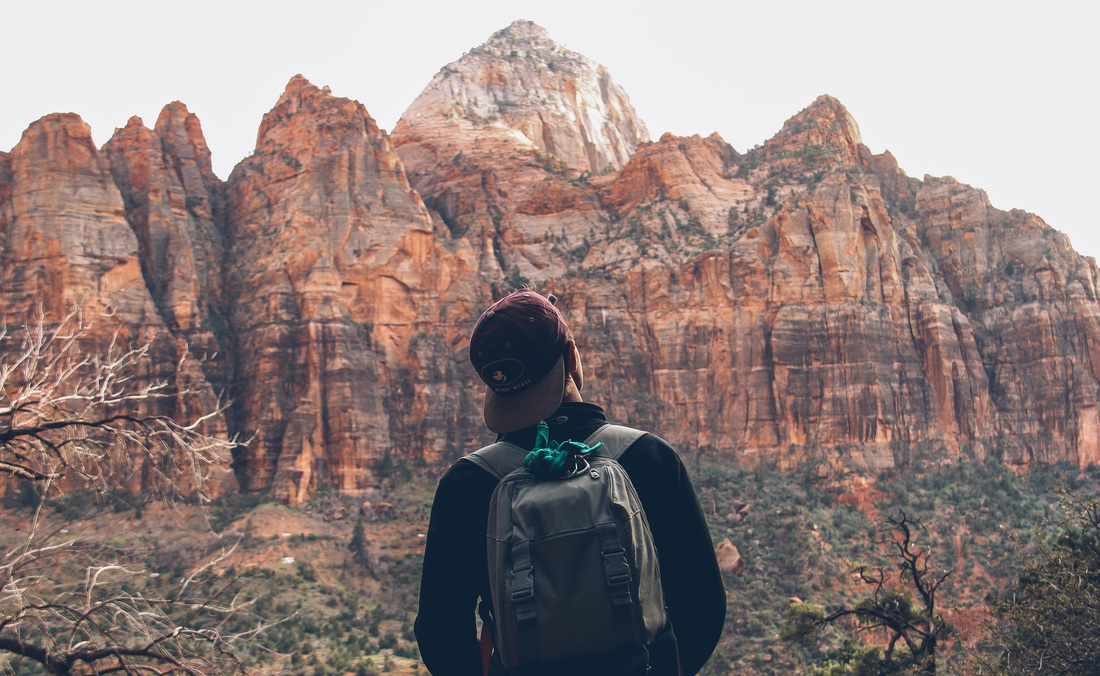
I'm James. This is my year of travel.

For example, if your website or blog operates on WordPress, there is a limitation on the size of the images you can upload. Many websites and blog platforms have limitations on the size of image uploads. This article will help you understand why images need to be resized, how come they might lose quality in the optimization process, and which programs you can use to reduce the size of your images without changing their overall quality. The short answer is yes, you can optimize images without quality loss, but the longer answer lies within compression algorithms and other technicalities. If you’re keen to learn more about Photoshop, you may find this more recent article on getting started with Photoshop of great interest.If you are new to photo editing and image optimization, it might be confusing whether you can change the file size of your picture without losing its quality or reducing its physical dimensions. This article was written in 2009 and remains one of our most popular posts. 
So I hope that’s useful for people wondering about how to resize images. You can get around this by using a Smart Object, but we’ll look at that another day. 
The more you resize, the more blurry and fuzzy things get. After you’ve converted it, you can change the mode again if necessary. Make sure your image is in RGB color mode before you do anything! If it’s not, choose Image > Mode > RGB to convert it.To do this choose Preferences> General and you’ll see Image Interpolation and there you can pick Bicubic Sharper from the drop down menu and click OK. If you’re doing a lot of image reduction, you can set up Photoshop preferences so that Bicubic is the default choice. It’s very useful for designers or photographers who want to put smaller versions of their work on the web. So for reducing image sizes, choose the Bicubic Sharper option. If I chose the Nearest Neighbor option, you can see the results are even worse. The text has completely broken apart and the image is looking fairly rough around the edges. The result below shows the text has become a little fuzzy (remember it almost half its original size) but the image on the right still looks very sharp.Ĭompare this to if I had chosen the Bilinear option in the drop down menu. I’m resizing this image from 543 pixels down to 300 pixels wide. In the Width field enter the number of pixels you want the new size to be. When you want to REDUCE the image size, click on Resample Image check box to make sure it is selected and choose Bicubic Sharper from the drop down menu. Copy and paste the screenshot into a new Photoshop document or open the screenshot in Photoshop if you’ve already saved it.ģ. (Note: I’m using Photoshop CS4 here, but this technique is the same from version CS onwards).Ģ. There’s an image on the right-hand side and some text on the left. You can see a section of the overall screenshot, viewed at 100% magnification below. I’ll start by taking a screenshot using Fireshot. I thought it might be useful to write something about this, because a lot of people find they get fuzzy or blurry images when they try to resize them, regardless of whether the image came from a camera, a scan, or a screenshot.ġ. However, when I then try to resize in Photoshop, the quality goes right down hill. 
I normally use Fireshot add-on for Firefox which renders a good quality image. Some time ago on the SitePoint forums, Stevieg_83 asked about a problem he was having with resizing screen shots.
0 Comments
Leave a Reply. |
AuthorWrite something about yourself. No need to be fancy, just an overview. ArchivesCategories |
 RSS Feed
